Create Stability Spec Data
Last updated: Jun 2, 2026
Who can complete this task?
Veeva LIMS Basics: Stability Design & Study Admin, Vault Admin
Spec Data brings together the sample plan and test definitions, allowing the Stability Design & Study Admin to specify which tests will be applicable to which sample, and allows for defining specification limits for the test results. Typically you will create one stability spec data for each time point in your protocol.
To save you time and to keep spec data records consistent, we recommend first creating a spec data for the timepoint that has the most conditions/orientations, tests, and criteria. Then make copies of the spec data and alter as needed.
Create Spec Data
To create a stability spec data record:
Navigate to Design & Admin > Design Data > Spec Data and click Create.
 Note If you also have permission to create release spec data records, you will need to select the type of spec data you want to create.
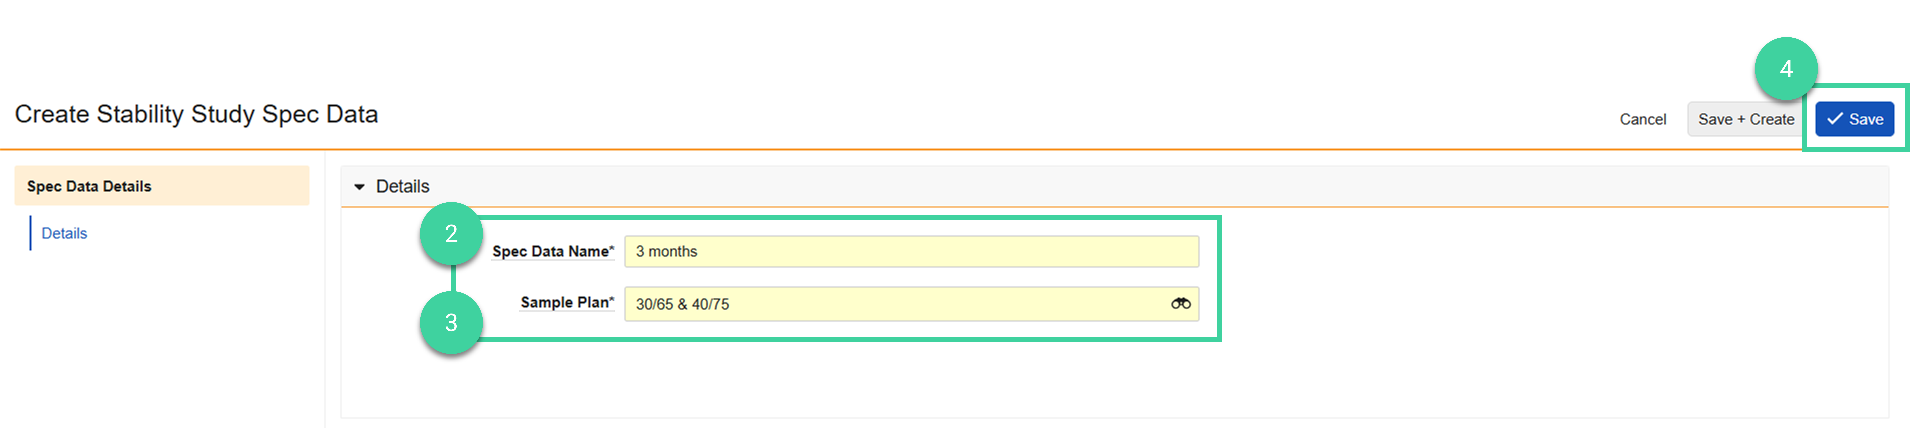
Enter the Spec Data Name.
Select the Sample Plan that will be used for this spec data.
Note You must select a sample plan that contains only the conditions/orientations applicable to the timepoint.Click Save.
Note
You can create a spec data by navigating to Design & Admin > Design Data > Spec Data, hovering your mouse over an existing spec data record and selecting Create Design Data Copy. This will also copy the samples to test, tests to execute, and specification criteria and you can make adjustments as needed for the new record (e.g., change the Spec Data Name, change the sample plan, add/edit/delete criteria, etc.).
Create Samples to Test
After creating the stability spec data record, the next step is to add a Sample to Test record for each sample definition in the sample plan.
To create samples to test:
Navigate to the spec data record and select Create Samples to Test from the All Actions menu.
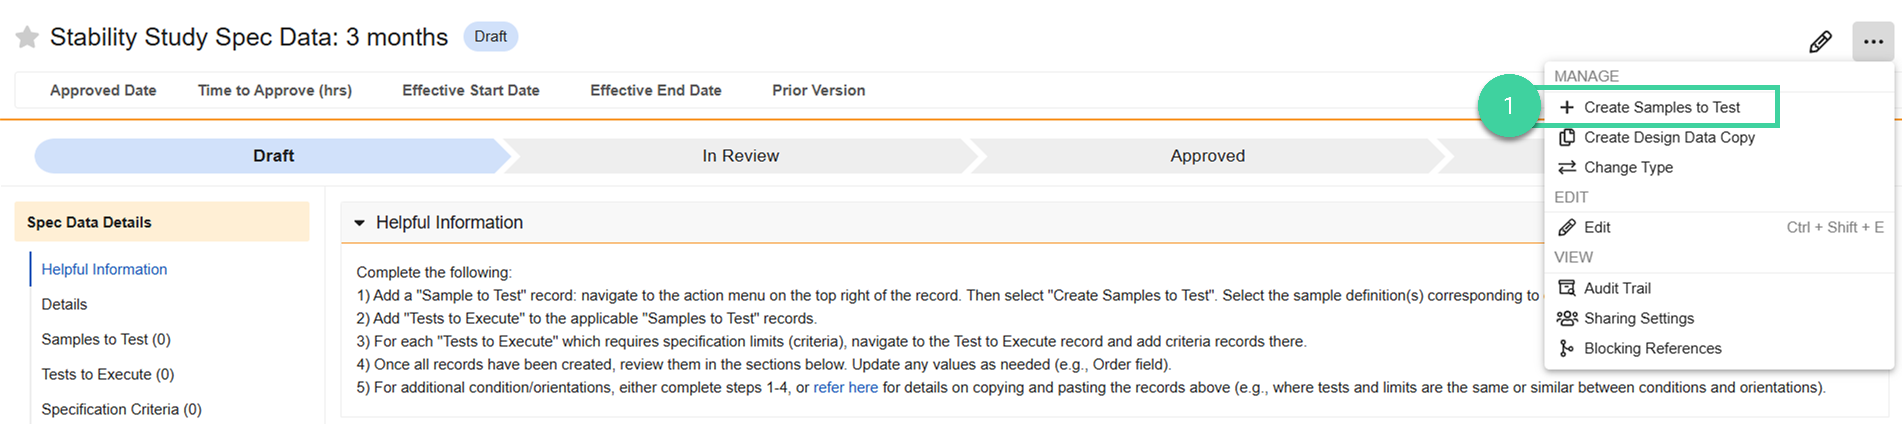
Select one or more sample definitions and click OK.

Create Tests to Execute
The next step is to add tests to execute for each of the samples to test. This determines which test definition(s) should go with which sample.
To create a test to execute:
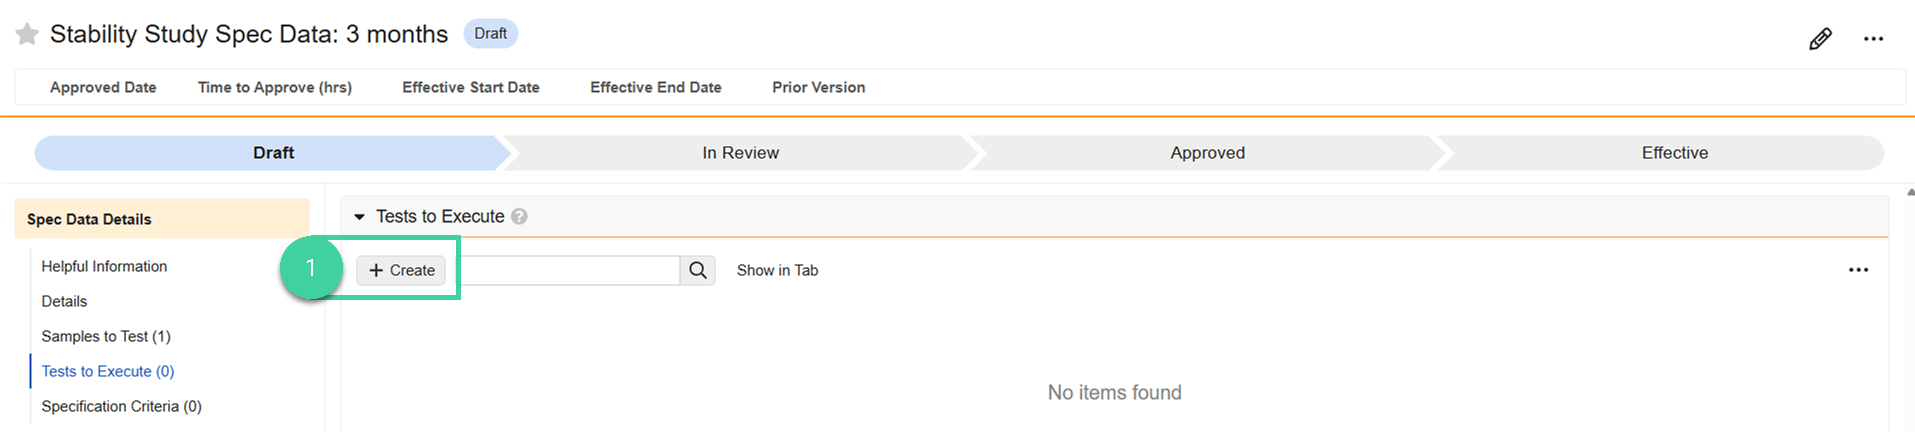
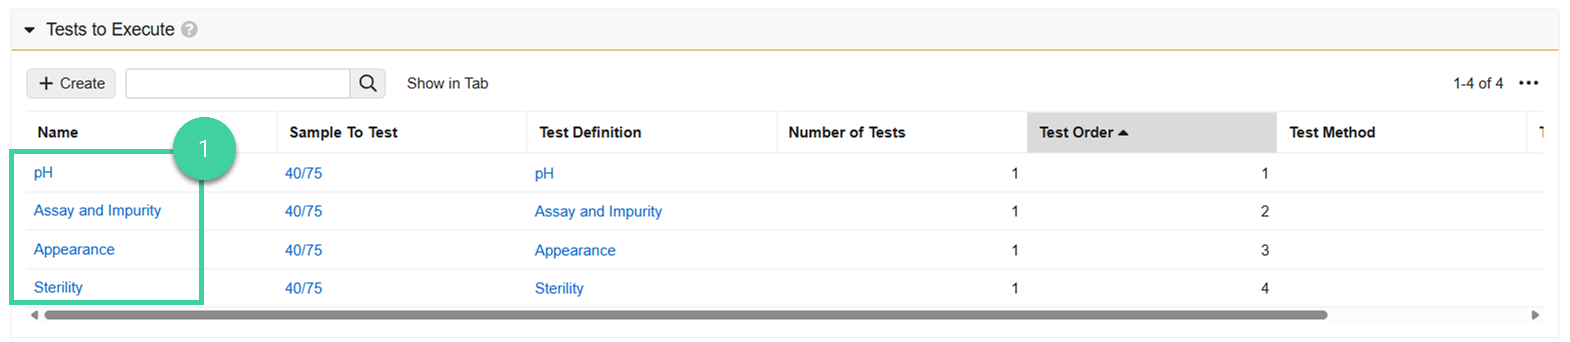
Navigate to the Tests to Execute section of the spec data record and click Create.
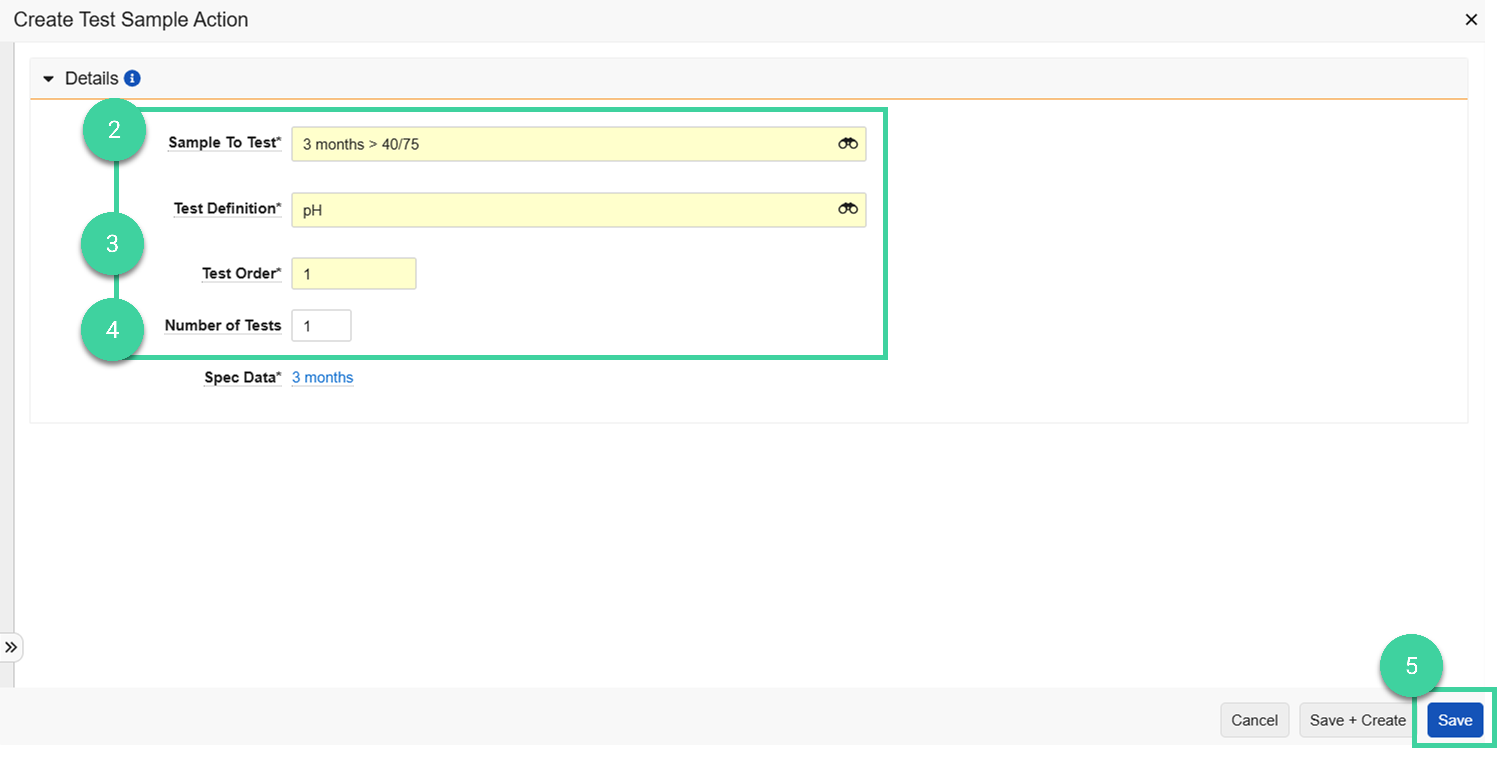
Select a Sample To Test and a Test Definition.
Enter the Test Order. This is the order in which the test should appear on the sample result entry screen.
Best Practice Match the Order to the results summary that will be provided on the results document by the third-party testing lab.Enter the Number of Tests to indicate how many tests will be created at runtime. This is generally 1.
Click Save.
Check the Test Method in the list view. It will default from the test definition (if populated) after the test to execute is created. If needed, you can add/edit the test method by clicking the test name and editing the record.

Create Specification Criteria
The next step is to add spec limits, or criteria records, for each test to execute.
Note
Criteria must be entered with a specific syntax or it will be invalid. Check the Helpful Information section for examples.
To create specification criteria for a test:
Navigate to the Tests to Execute section of the spec data record and click one of the test records to open it.
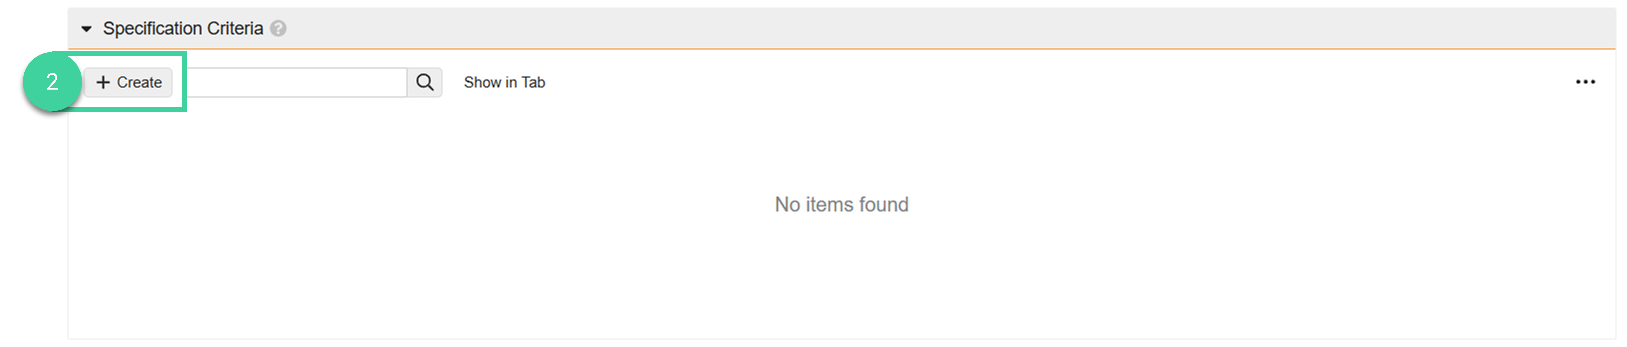
Navigate to the Specification Criteria section for the test record and click Create.
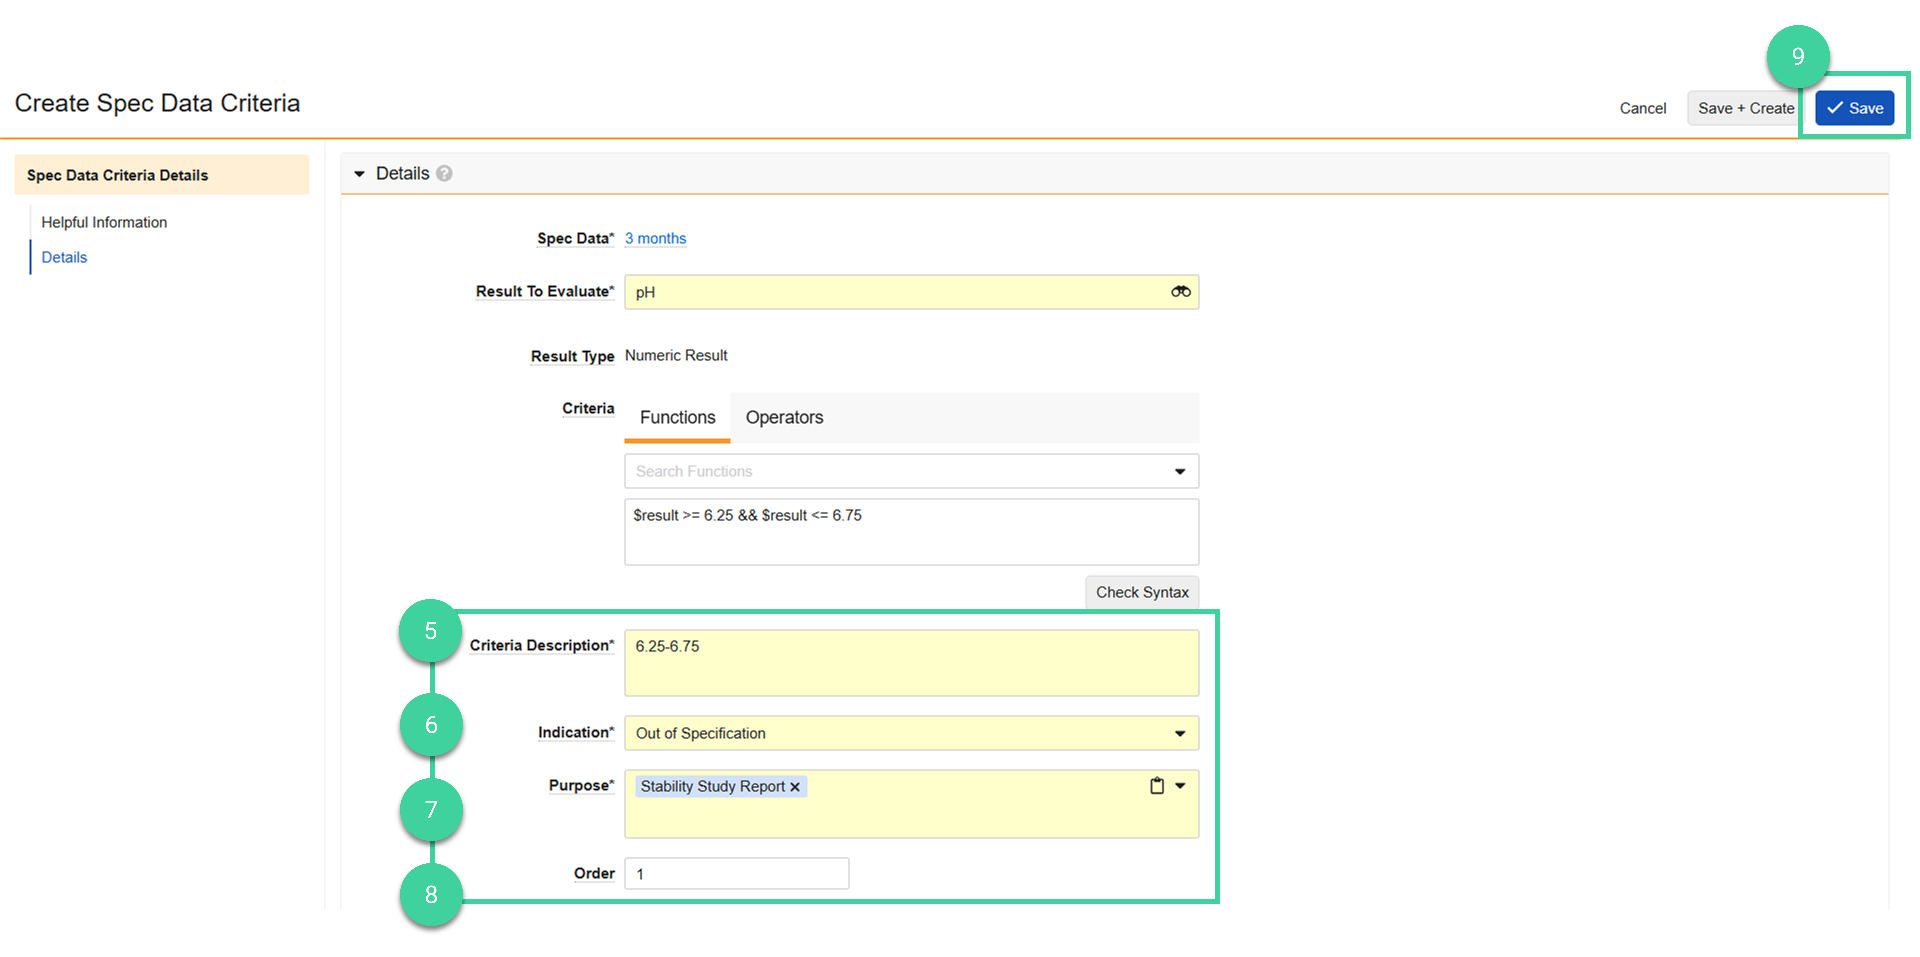
Refer to the Helpful Information section, find the applicable type of result and example limit, copy and paste the syntax into the Criteria field. Then modify is as necessary.
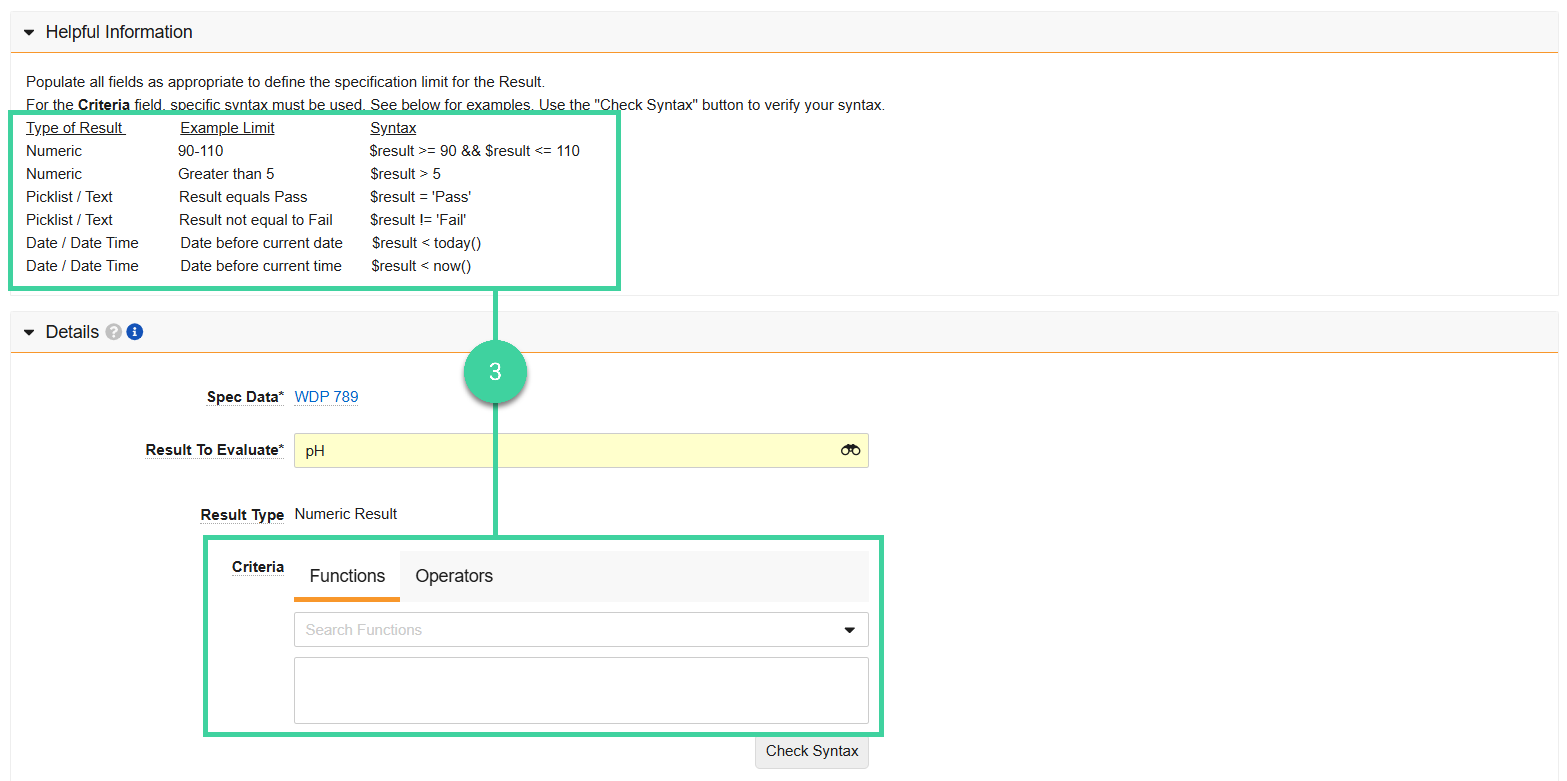 Tip If you want to report on a result on the Stability Report or CoA but there is no actual specification limit, enter
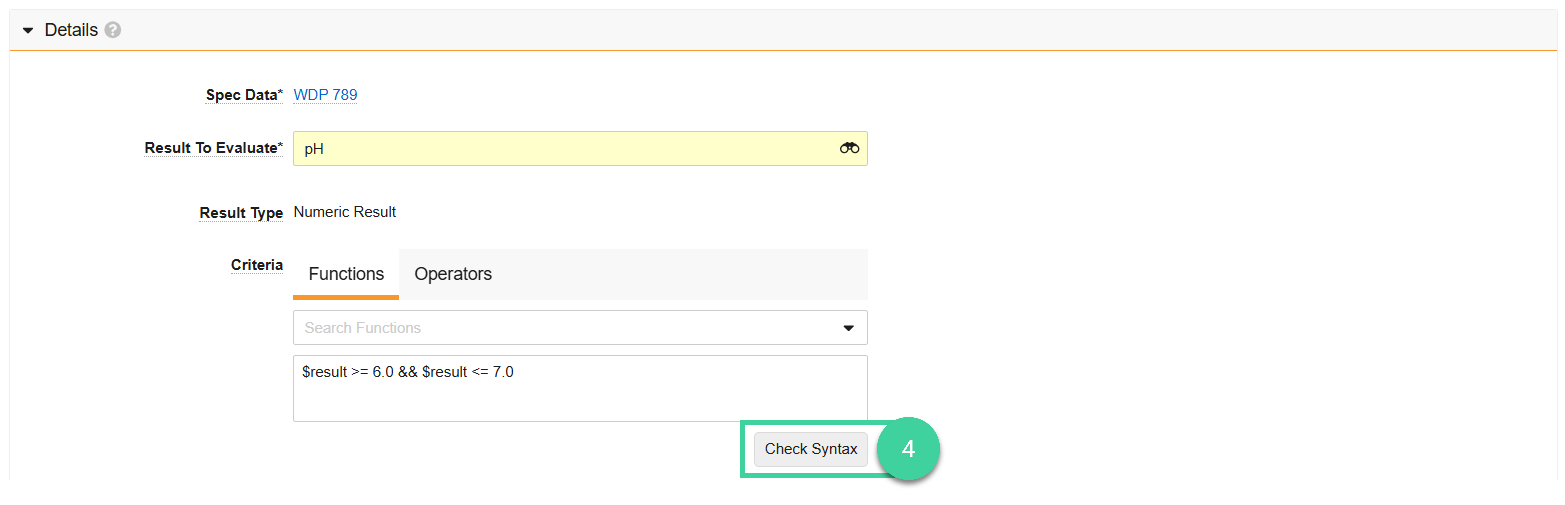
Not(IsBlank($result))in the Criteria field.Click Check Syntax to make sure the syntax is valid.
Enter the human-readable specification limit in the Criteria Description field. The Criteria Description will display on appliable reports, such as the Stability Report.
Select the Indication. Indication determines how this criteria is represented and, if failing, this criteria prevents spec conformance.
Select one or more Purpose options.
- Internal: When the indication is Alert, purpose will typically be Internal.
- Stability Study Report: Select this option for any limits that should be included on the system-generated Stability Report.
- COA: This option is only used for release spec data only. You will not be able to save the stability spec data if you select this option.
Specify the Order in which the limits and results should be shown in the table of results on the Stability Report.
Click Save.
Best Practice
Check the tests order and criteria order holistically from the spec data record.
Deep Copy Record
Best Practice
If the tests and spec criteria for a timepoint/condition are similar to another condition for the timepoint, use deep copy record to create the new sample to test.
To deep copy a sample to test:
Select Deep Copy Record from the All Actions menu of the sample you want to copy. A copy of the sample is created, along with its associated tests and specification criteria.
Return to the spec data record.
Make any changes, if needed. For example:
To change the sample definition, select the correct one right from the Samples to Tests grid. Click out of the field to save.
To remove a test for a particular condition, select Power Delete from the All Actions menu of the test. Power delete also deletes the spec criteria associated with the test.
Create Stability Spec Data from Release Spec Data
If the specifications between release and stability are very similar and a release spec data is available, it can be used to create Initial/T0 or timepoint specifications.
To create a stability spec data from a release spec data:
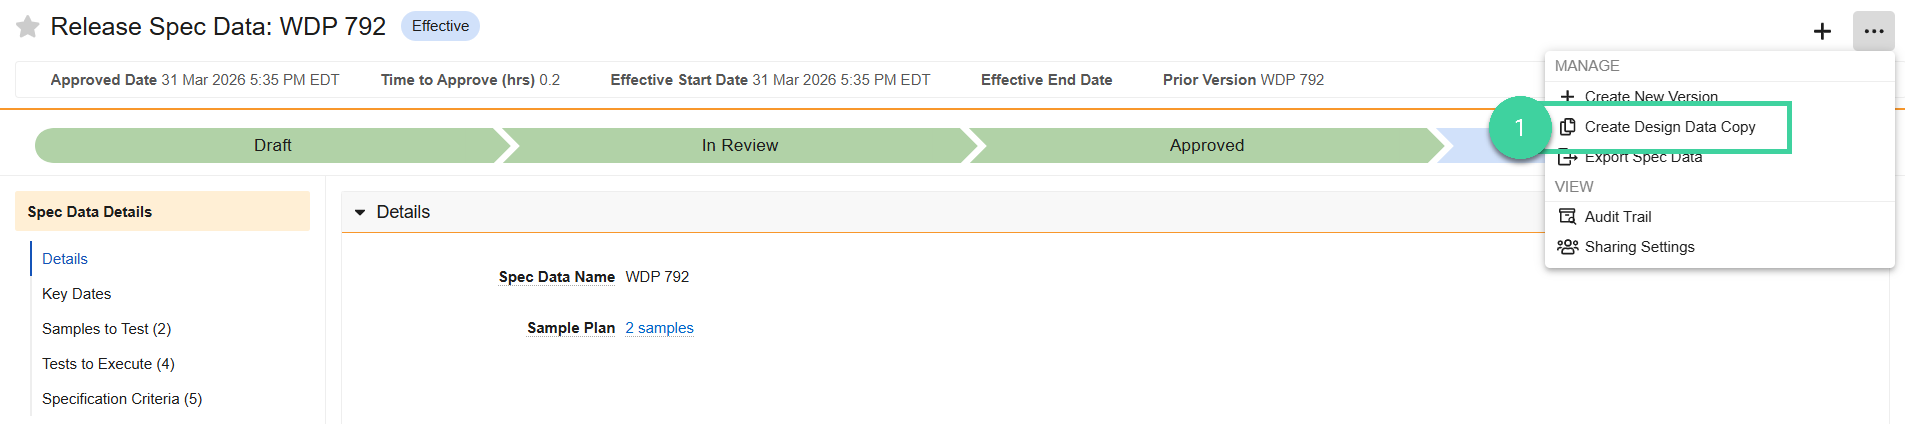
From the release spec data you want to copy, select Create Design Data Copy from the All Actions menu.
From the new spec data record, select Change Type from the All Actions menu.

Select Stability Study Spec Data and click Continue.

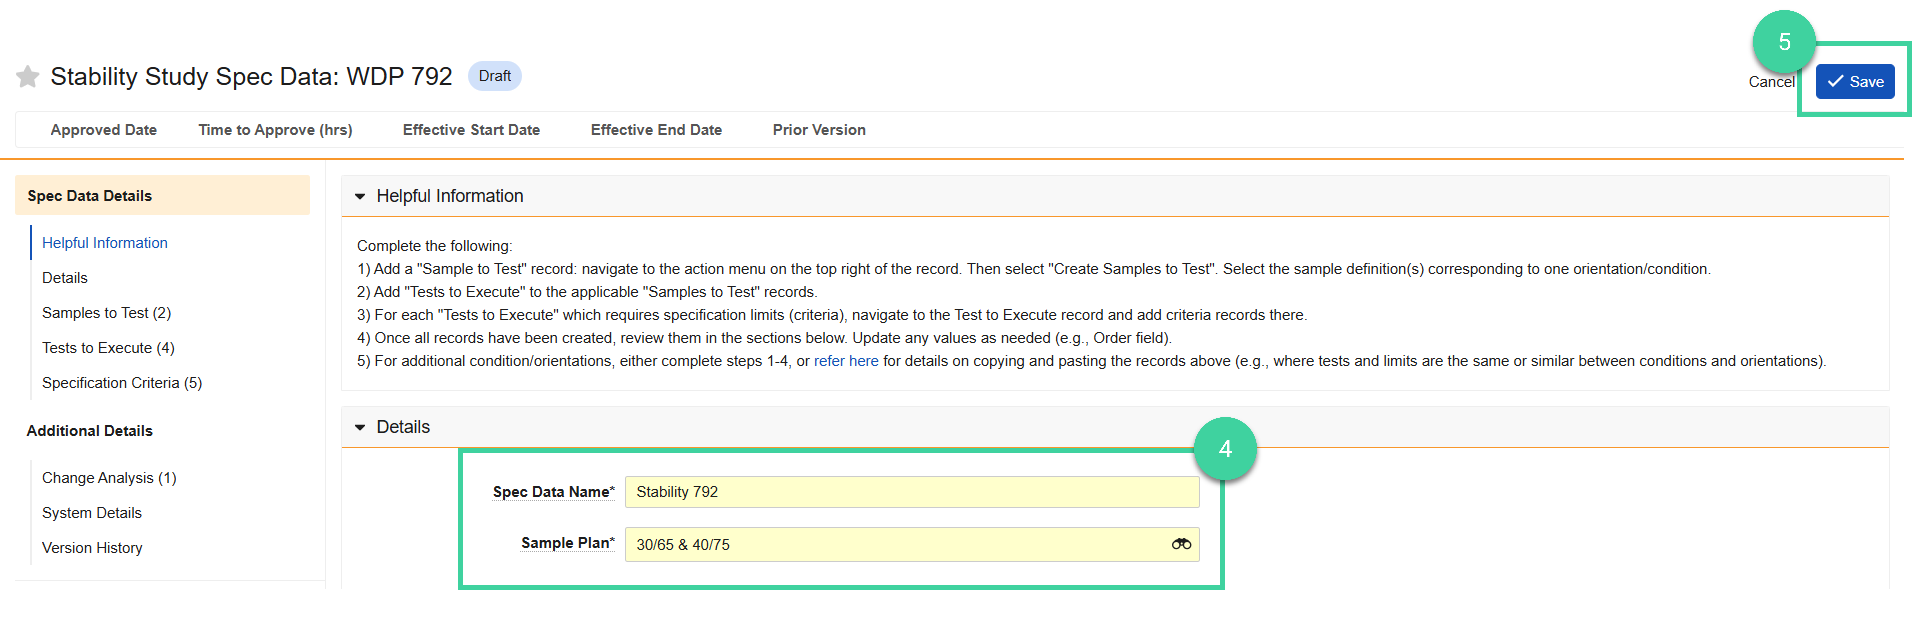
Update the Spec Data Name, select a new Sample Plan (sample definitions must have a sample type of Stability).
Click Save.
Note
If any of the spec data criteria has CoA in the Purpose field, you should remove it, as this will cause issues if you do a design data copy or version the record.