Upload to File Staging
Last updated: Apr 22, 2026
Who can complete this task?
Vault Admin
Before you begin, ensure that you have either Vault File Manager or an FTP client (such as Filezilla) downloaded and your content is organized.
Best Practice
We strongly recommend that you use Vault File Manager. If you must use an FTP Client like Filezilla, only one user can upload the files.
Vault File Manager
Important
- Vault File Manager is for Windows only. If you are on a Mac, use an FTP Client instead.
- The person uploading files must have a Vault Admin security profile.
- You must log in to your Sandbox Vault.
To upload your files using Vault File Manager:
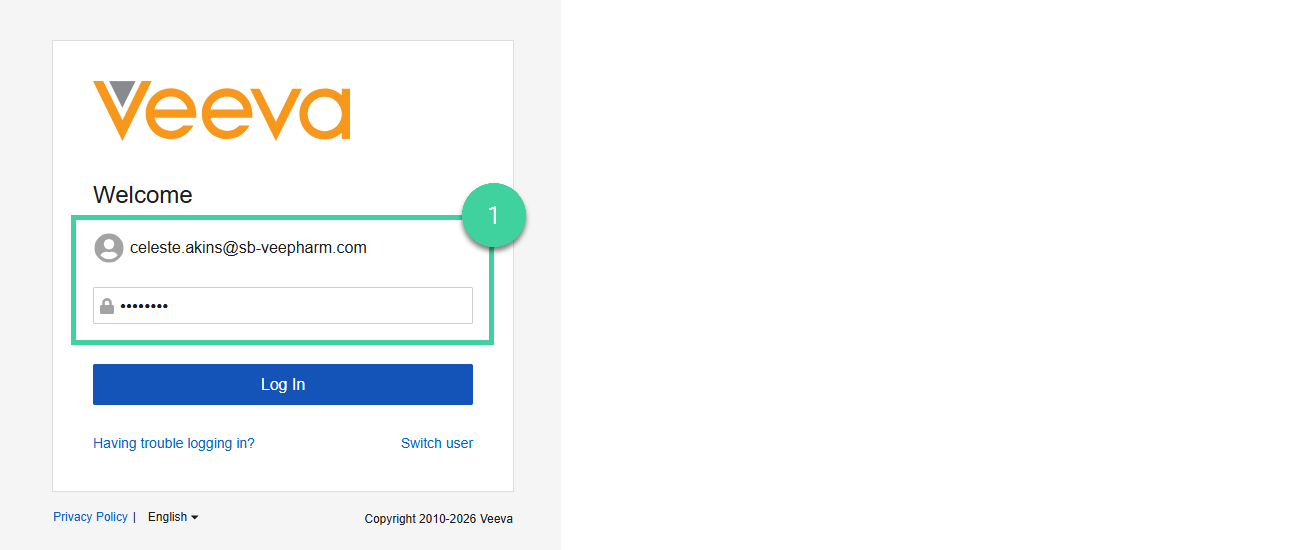
Log in to Vault File Manager using your Vault Admin credentials from your Sandbox Vault.
Make sure you have selected the correct Vault from the Vault selector.
Go to the File Staging tab.
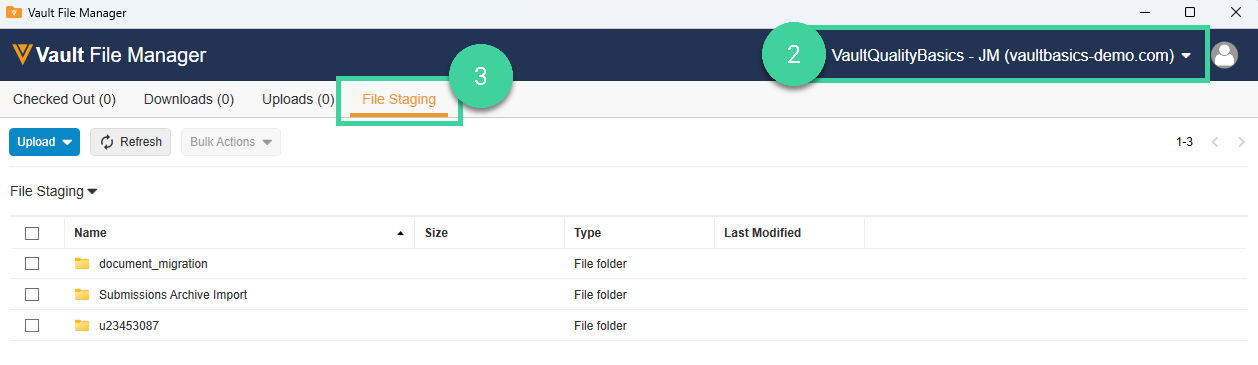
Navigate to the document_migration folder. Or, if you are uploading Submission Archives as part of a RIM migration, navigate to the Submissions Archive Import folder instead.
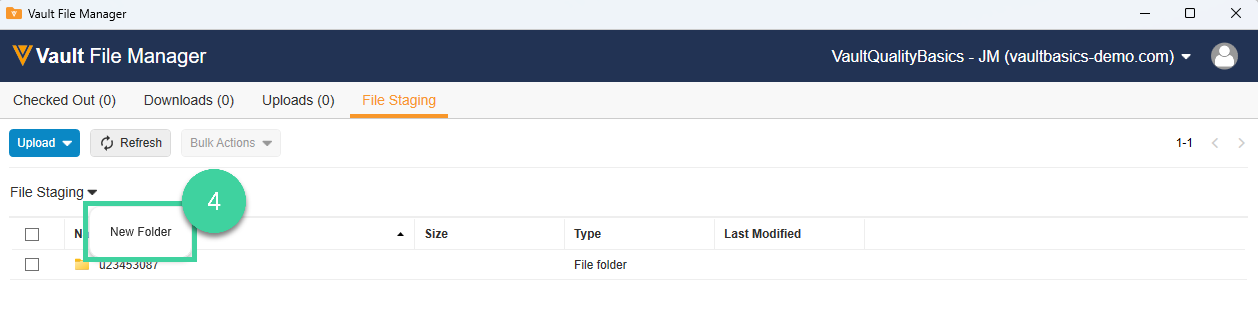
If the document_migration and/or Submissions Archive Import folders do not exist, you must add the folder(s) you need. Click the arrow () next to File Staging and select New Folder. Enter the folder name you want to add and click Create. Click Refresh to see the new folder in Vault File Manager.
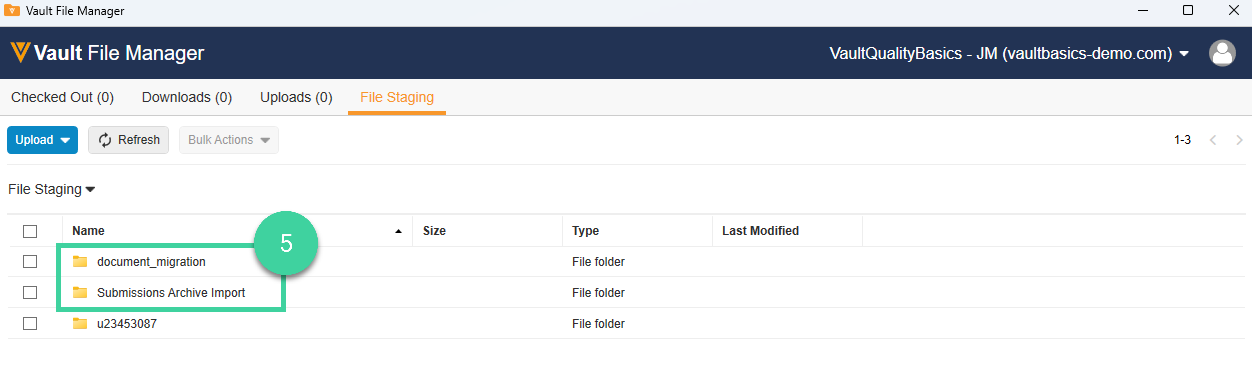
Drag and drop to upload your documents into the appropriate folder.
The files have been transferred when the Upload Status is Complete.
FTP Client
Important
- The person uploading files must have a Vault Admin security profile.
- If your organization uses Single Sign On (SSO), you must edit your Vault user profile to use the Basic Security Policy.
- You must provide log in details to your Sandbox Vault.
To upload your files using an FTP Client (such as Filezilla):
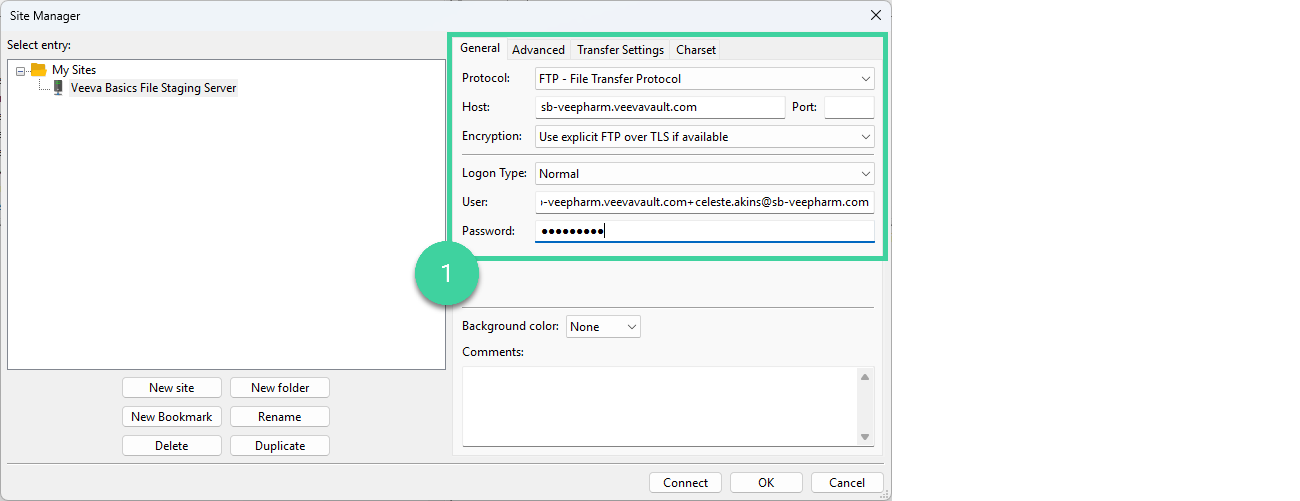
Add the File Staging settings as a new site and connect to it.
Protocol: Select FTP – File Transfer Protocol.
Host: Your Vault domain. To find this, log into your Sandbox Vault and look at your browser’s address bar. Copy only the domain portion (e.g., veepharm.veevavault.com). Do not include https:// or any characters after .com.
Encryption: Select Use explicit FTP over TLS if available.
Logon Type Select Normal.
User/Password: Vault Admin username/password to your Sandbox Vault.
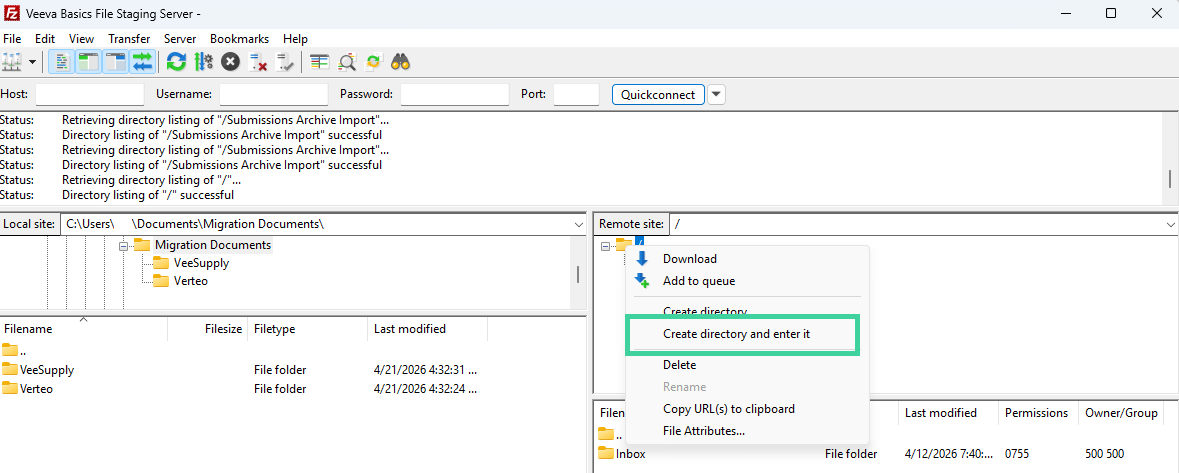
Drag and drop the folders from your local site to the remote site’s document_migration folder (or Submissions Archive Import folder, if you’re transferring a submission).

If the document_migration and/or Submissions Archive Import folders do not exist, you must add the folder(s) you need. Right-click the root folder under Remote Site and select Create directory and enter it. Enter the folder name you want to add and click OK.
You can monitor the Queued Files, Failed Transfers, and Successful transfers tabs to view the transfer progress.