Approve a Document
Last updated: Apr 17, 2026
Who can complete this task?
Veeva PromoMats Basics: Content Creator, Content Manager, Material Coordinator, Medical, Legal, Regulatory, Responsible Pharmacist, Medical Signatory, AQP
To approve a document:
Navigate to Content Workspace > Tasks and open the Approval task.

Review the document, then click Complete.

Select a Verdict. If you approve the changes, provide your electronic signature if prompted. If the verdict is Not Approved, provide a descriptive comment.
- In the case of Regulatory approval, and if not completed during the review process, the regulatory user should provide the Country, whether or not there is Submission Required (if so, to which Health Authority), and the Material Type.
Click Complete.
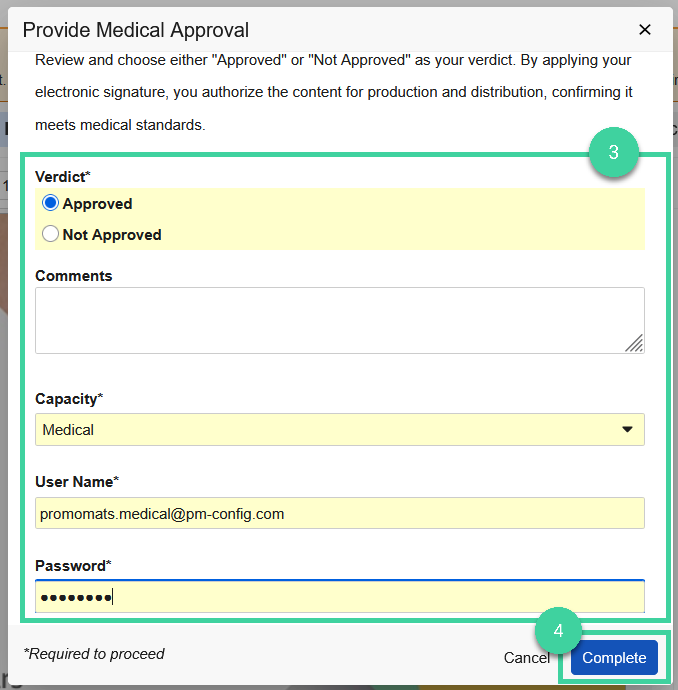
In the MLR Approval process, all approvers must approve a document for it to reach the Approved for Distribution state. If any approver rejects the document, it returns to the Revise and Resubmit state.
Global MLR Approvals
For United Kingdom documents, the Certification and Examination workflows use country-specific task text. For France, the same applies to the Final Release workflow. All cases follow the same general process as the standard approval outlined above.
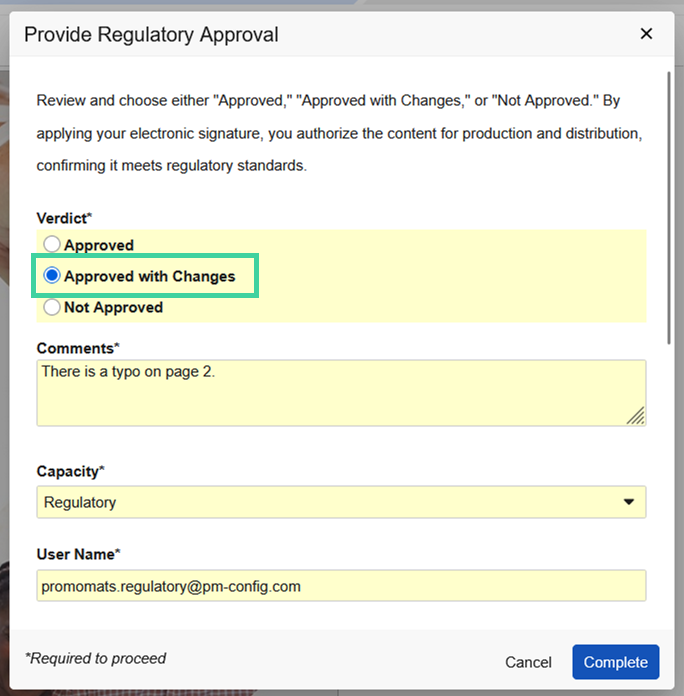
Approve with Changes
Best Practice
Using the Approved verdict ensures that the verdict is stamped on the exact same version of the document that enters Approved for Production, thus the Approved with Changes verdict should only be used for minor modifications. Additionally, if you plan to select Approved with Changes, ensure you’ve created an annotation to note where any changes are required.
If Approved with Changes is enabled by your organization’s Vault Admin, the selection of the same name will be available when approving a material.