Create a Claim and Add References
Last updated: Apr 17, 2026
Who can complete this task?
Veeva PromoMats Basics: Content Manager, Material Coordinator, Medical, Legal, Regulatory, Medical Signatory
A Claim is a group of words or phrases that make a representation about a product, such as a risk or benefit which is supported by literature via a reference.
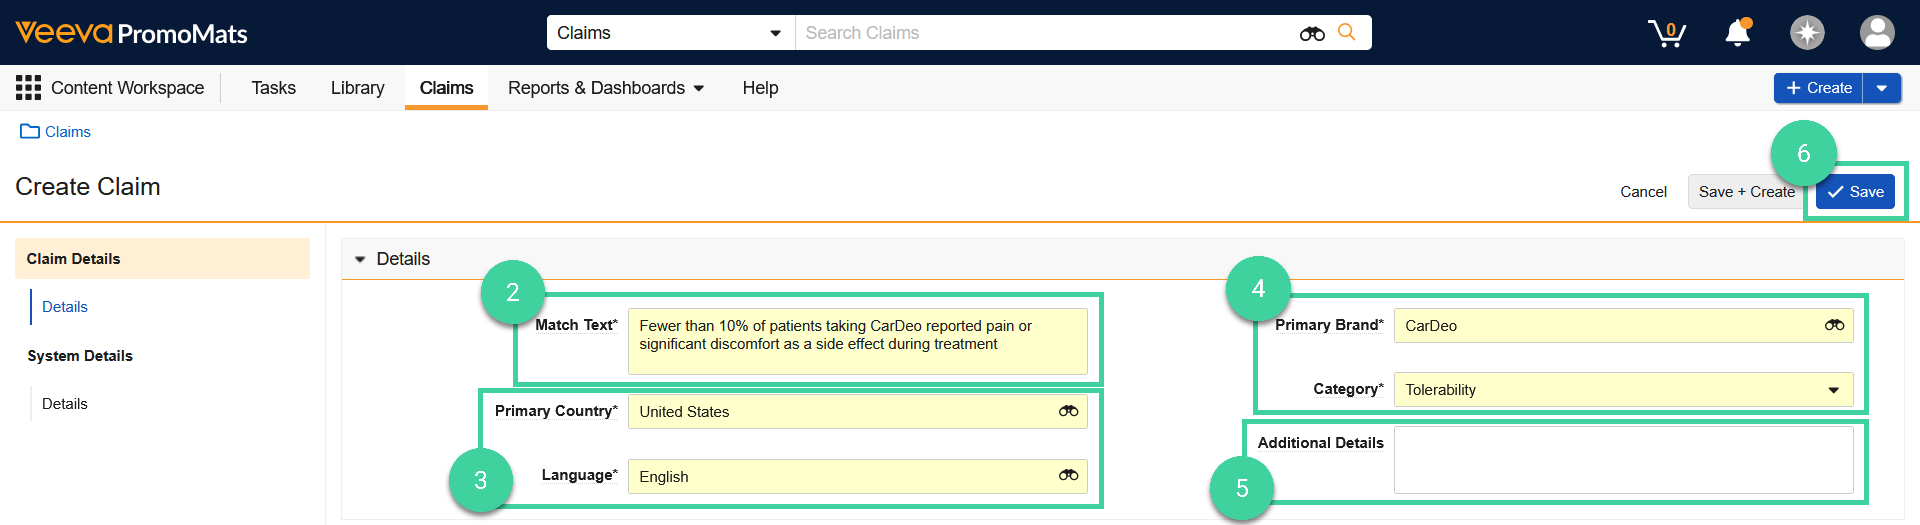
To create a Claim:
- From the Claims tab in the Content Workspace, click Create.
- Enter the Match Text, or the exact text for the claim statement in your document.
- Select the document’s Primary Country and Language.
- Select the Primary Brand, and Category that best describes the document.
- Optionally, use the Additional Details field to enter any mandatory footnote text, disclaimers, or qualifying statements for the claim.
- Click Save to create the Claim.
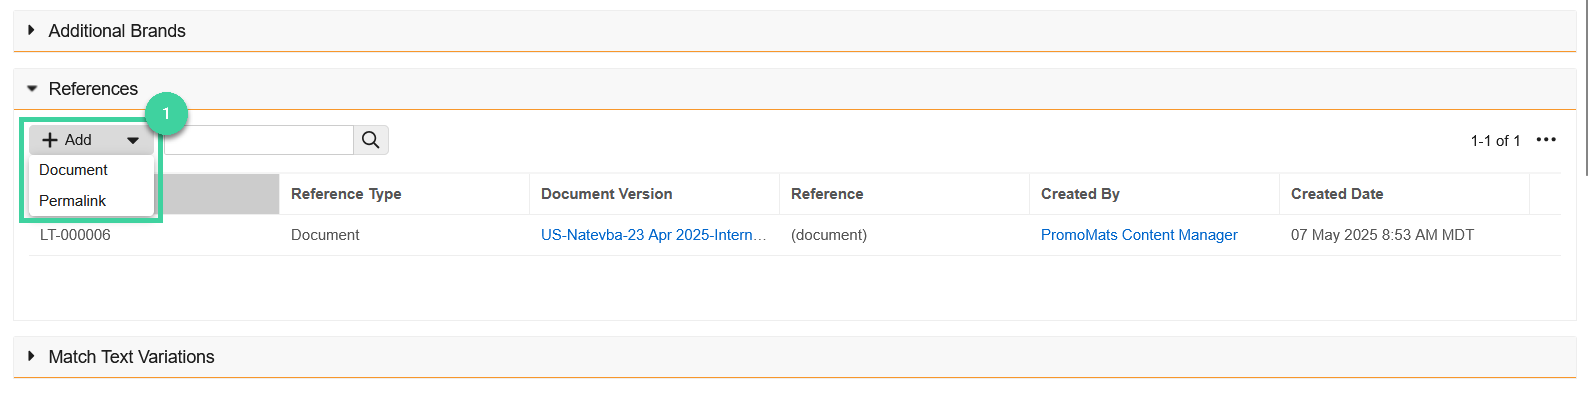
Add a Reference to a Claim
To add a reference to a claim:
Starting from the claim, open the References section, click Add, and select the type of reference. Document links a specific version of a document as a reference, whereas permalink will always retain the most recent version of the reference document.
Click + to add a reference document.
- Optional: Select a specific anchor location in the document for the reference.
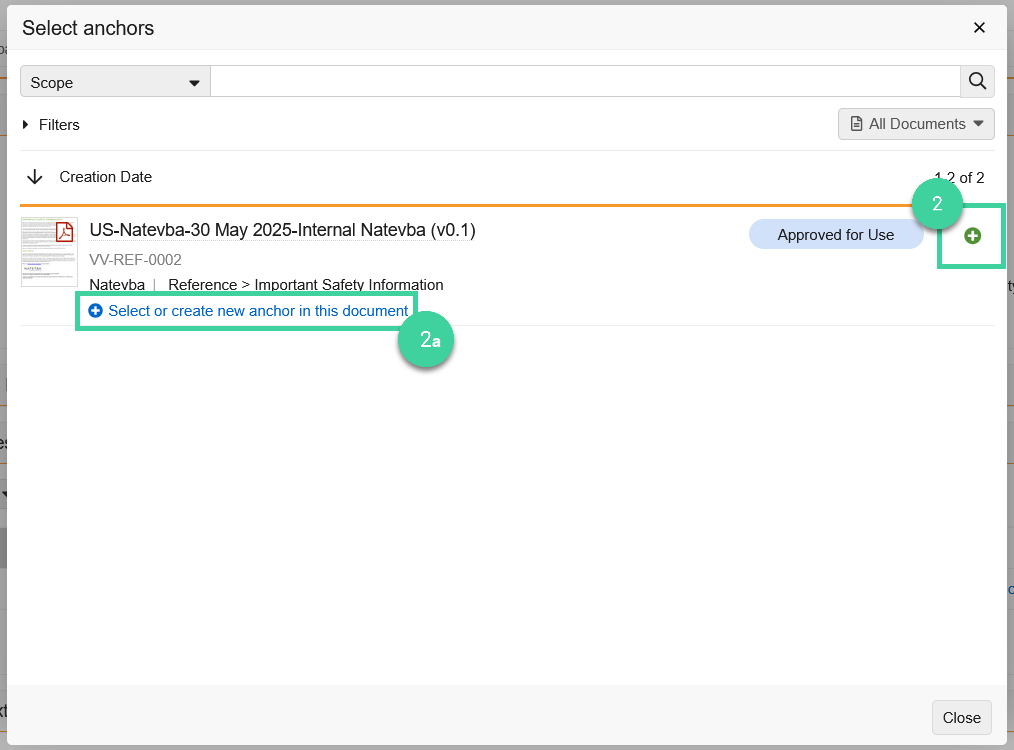
Click Close.
Update an Approved Claim
Claims that are already in the Approved state can be updated using the Update Claim Workflow Action.
Best Practice
Only trigger the Update Claim Workflow Action if you are ready to make the necessary update. Update Claims tasks should not be left open for an extended period of time.
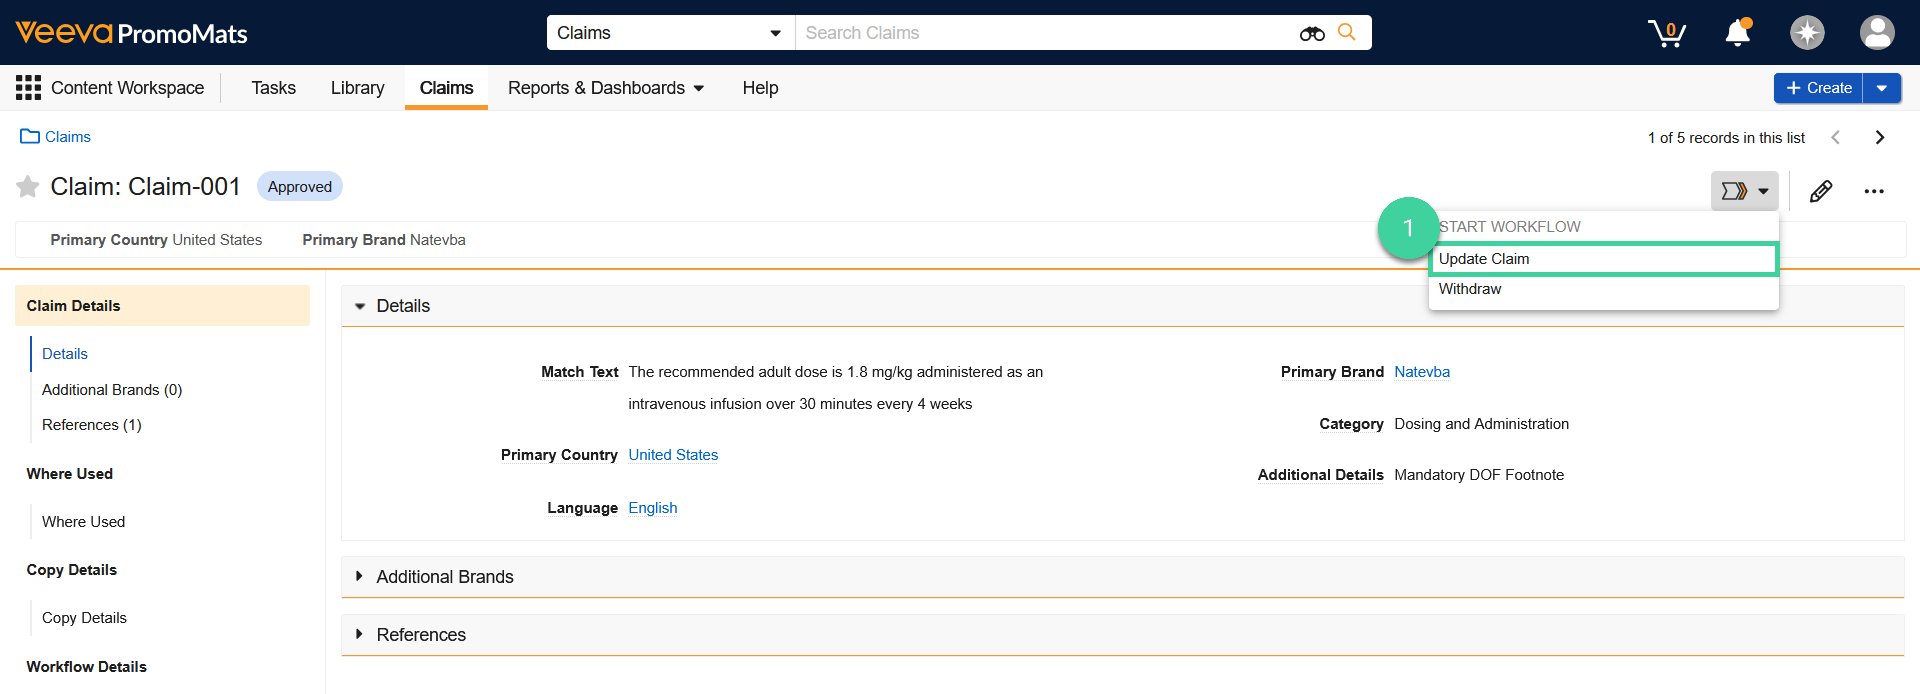
To update a Claim:
- From the page of the Claim that you want to update, select the Update Claim Workflow Action.
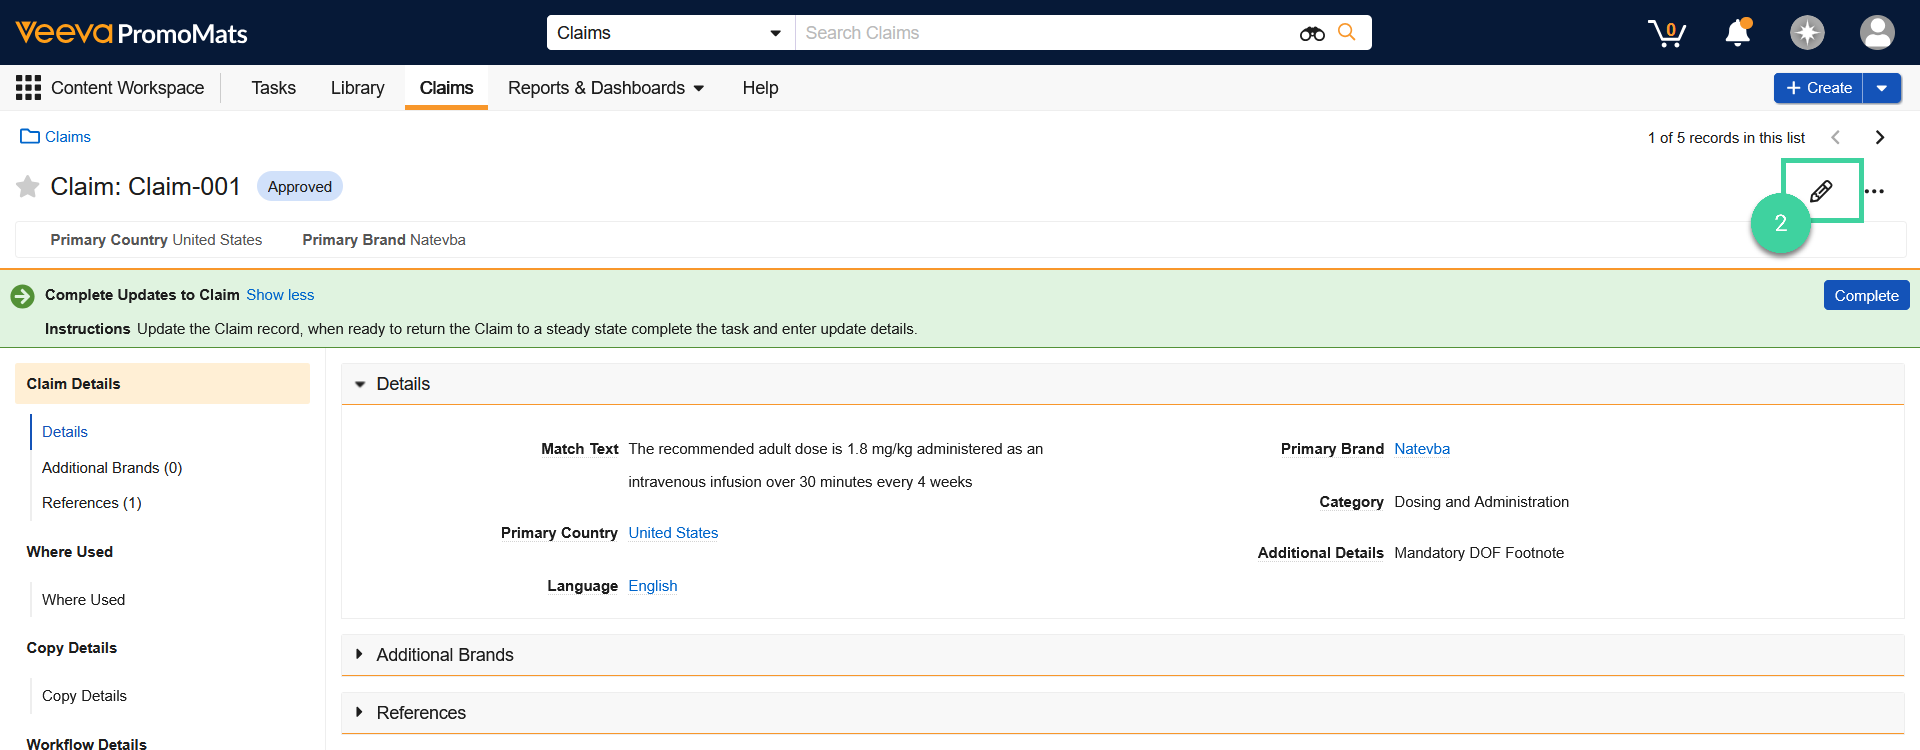
- The Claim remains Approved, but its metadata is editable. Click Edit ().
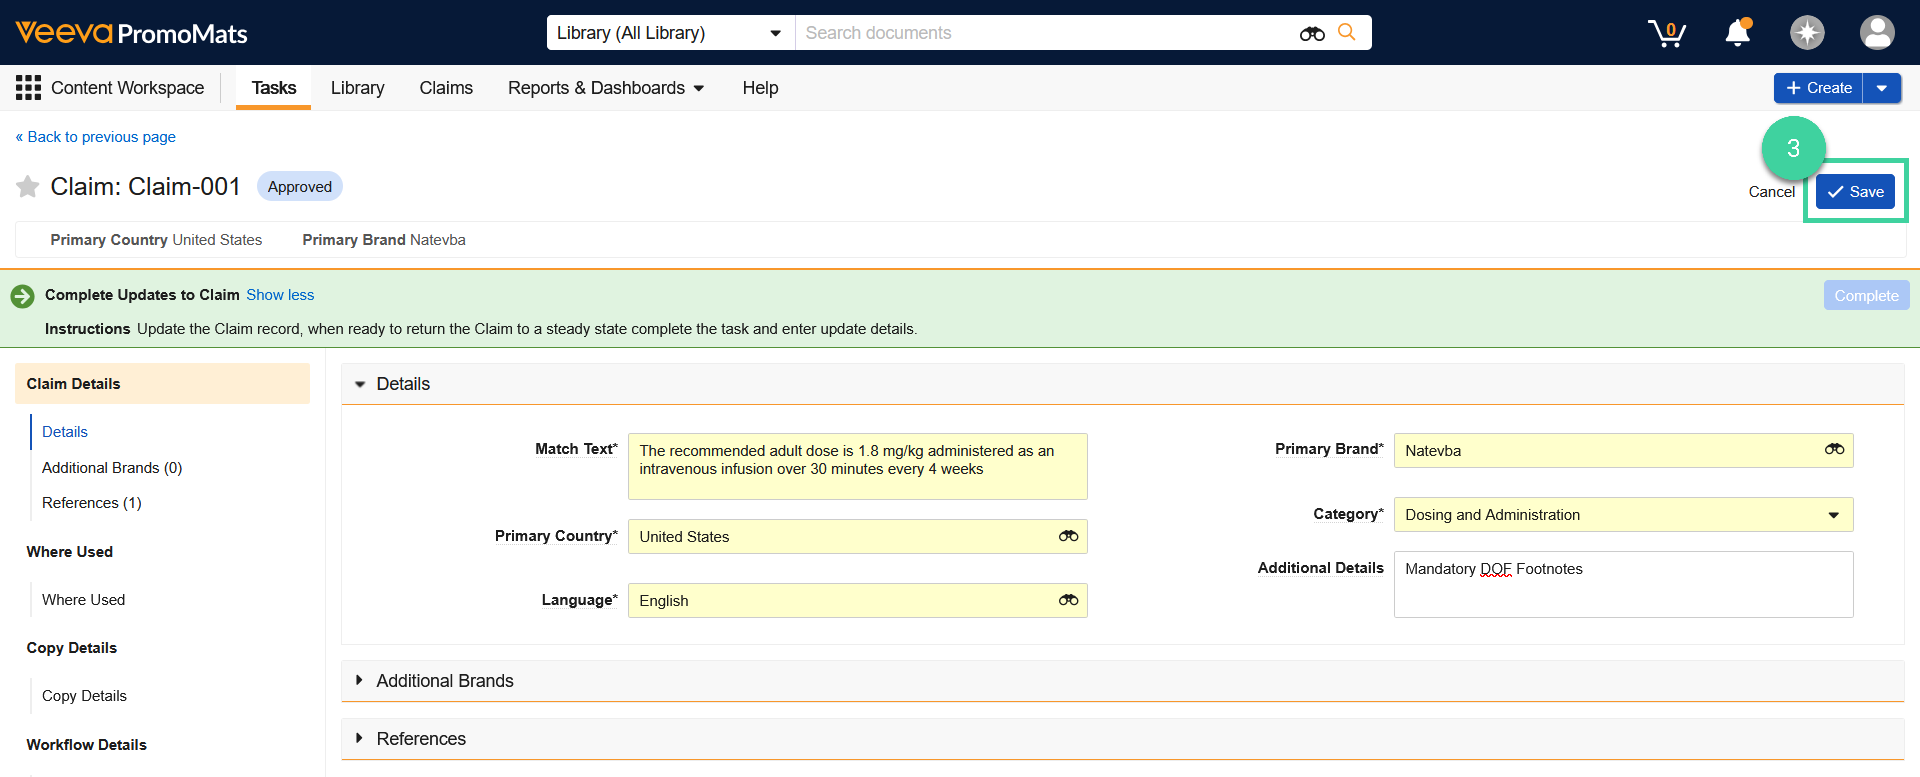
- Make any desired edits to the metadata, then click Save.
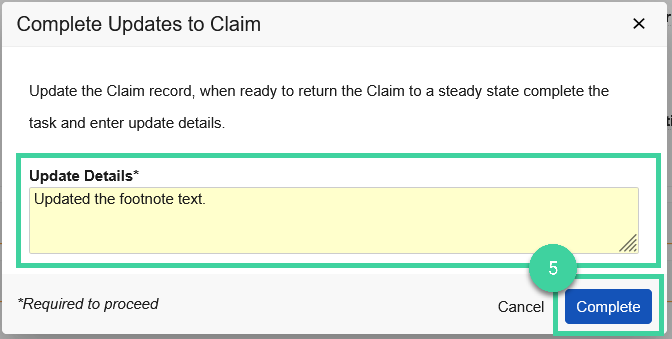
- Click Complete.
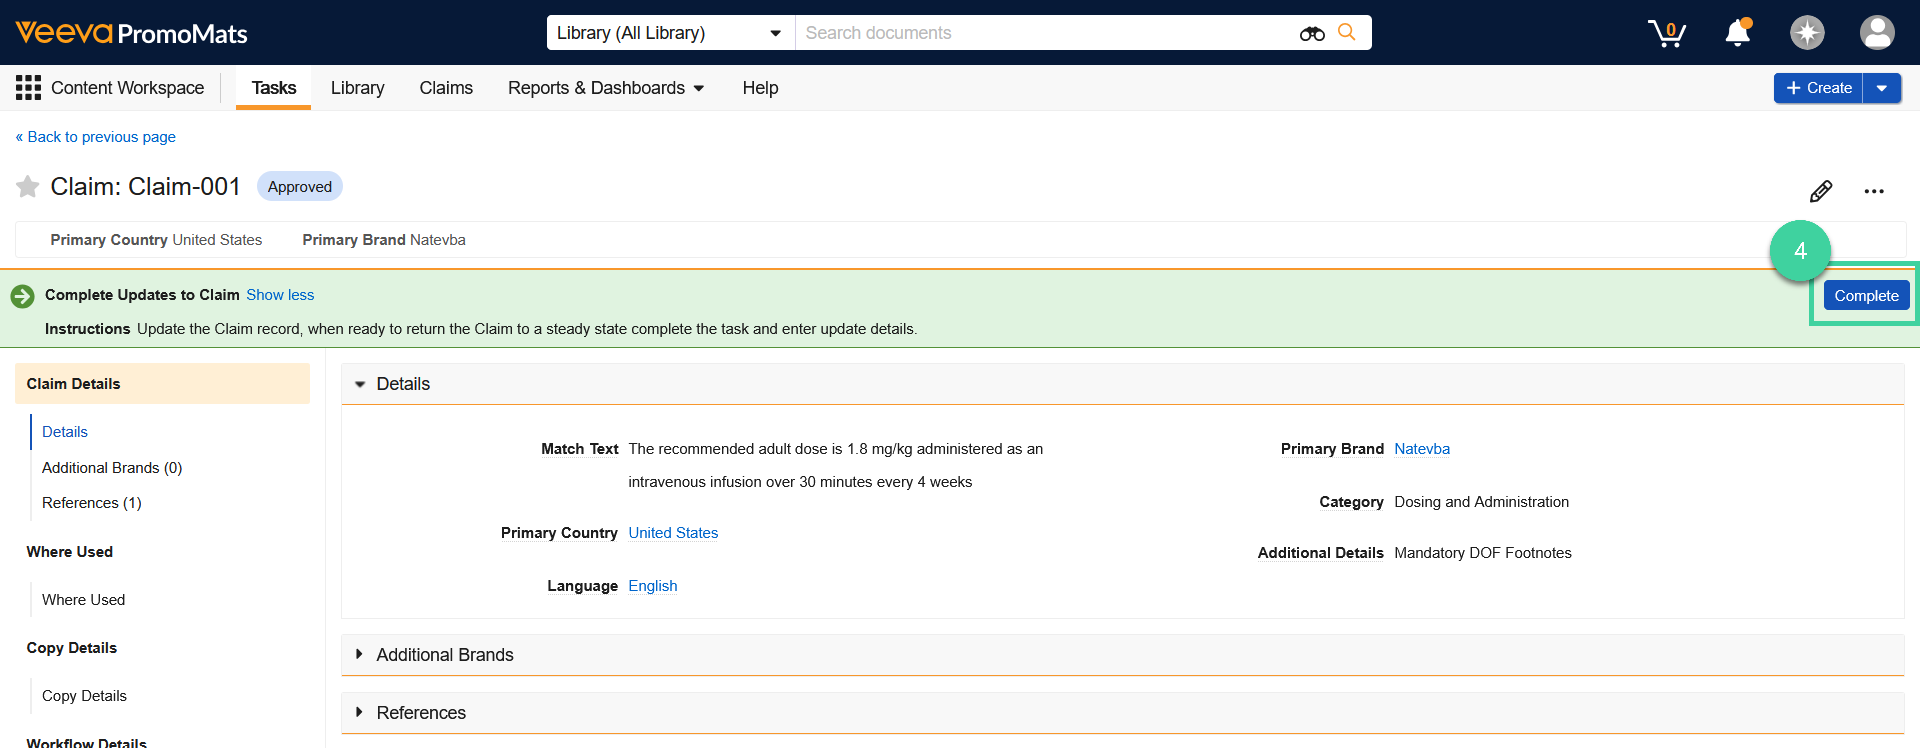
- Enter Update Details to describe any changes made, then click Complete to complete the task. The Claim returns to steady state upon completion.
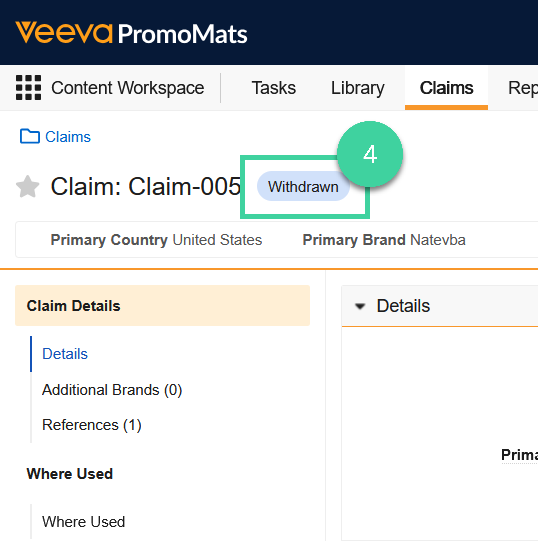
Withdraw a Claim
To withdraw a Claim:
- From the page of the Claim that you want to withdraw, select the Withdraw Workflow Action.

- Select a Withdrawal Reason.
- Click Start.
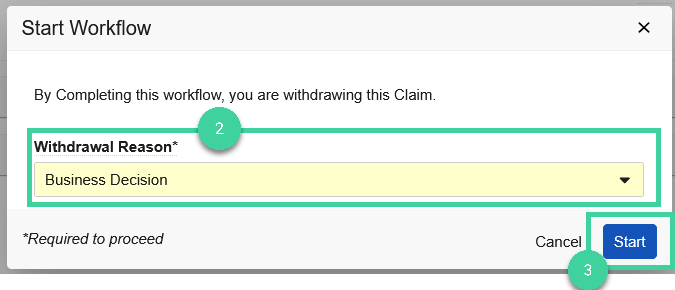
- The Claim is moved to the Withdrawn state.